
How do virtualinfocom make game characters
VR
We come across different animated characters almost every day. In our generation of modern technologies and high-tech gadgets, animation has become an integral part of our daily lives; starting from watching cartoon shows to the very popular Amul girl’s character, everything is a part of animation.
Animated characters in animated movies and specially, in video games often fascinate us. Nowadays, we can even see game characters which are lookalikes of our favorite celebrities. But how are these game characters actually created? It’s a big question for most of us!
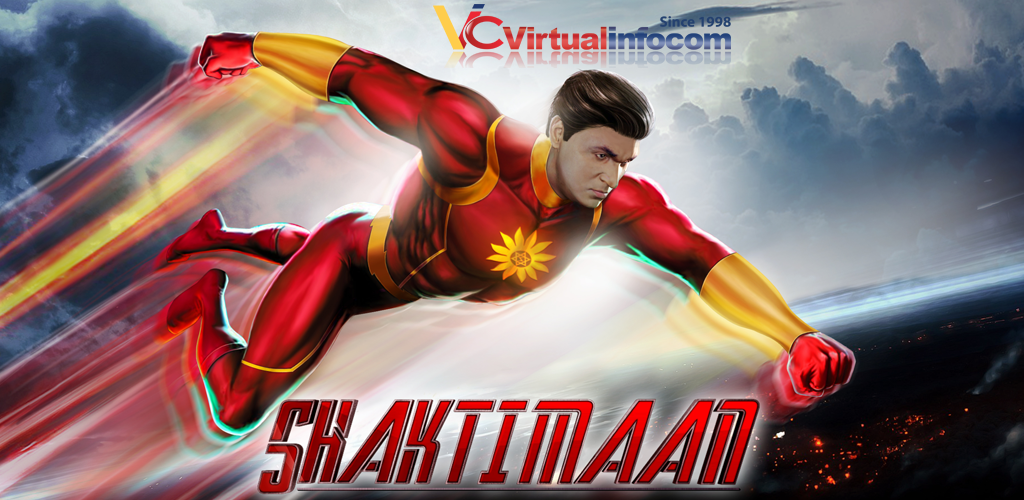
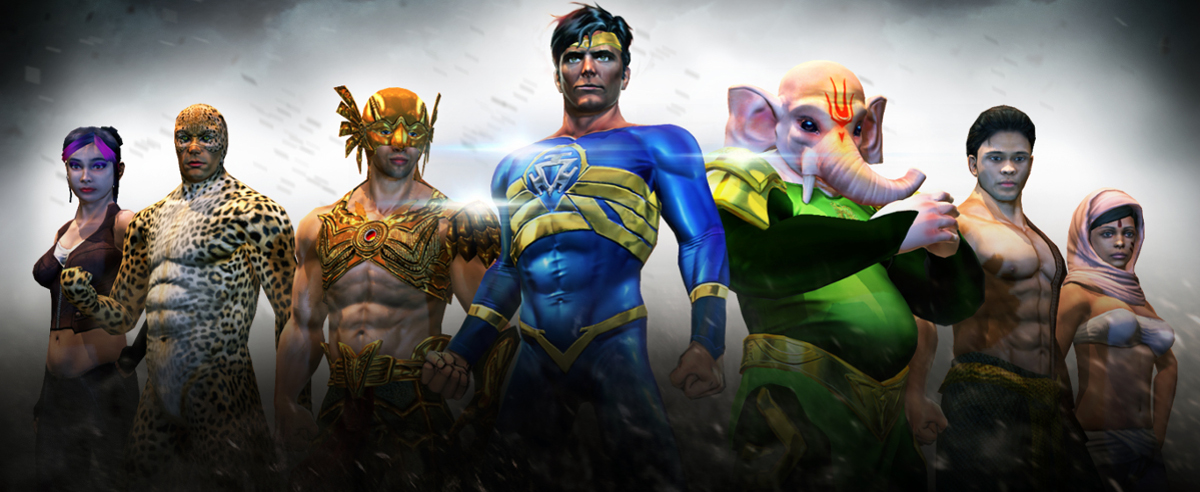
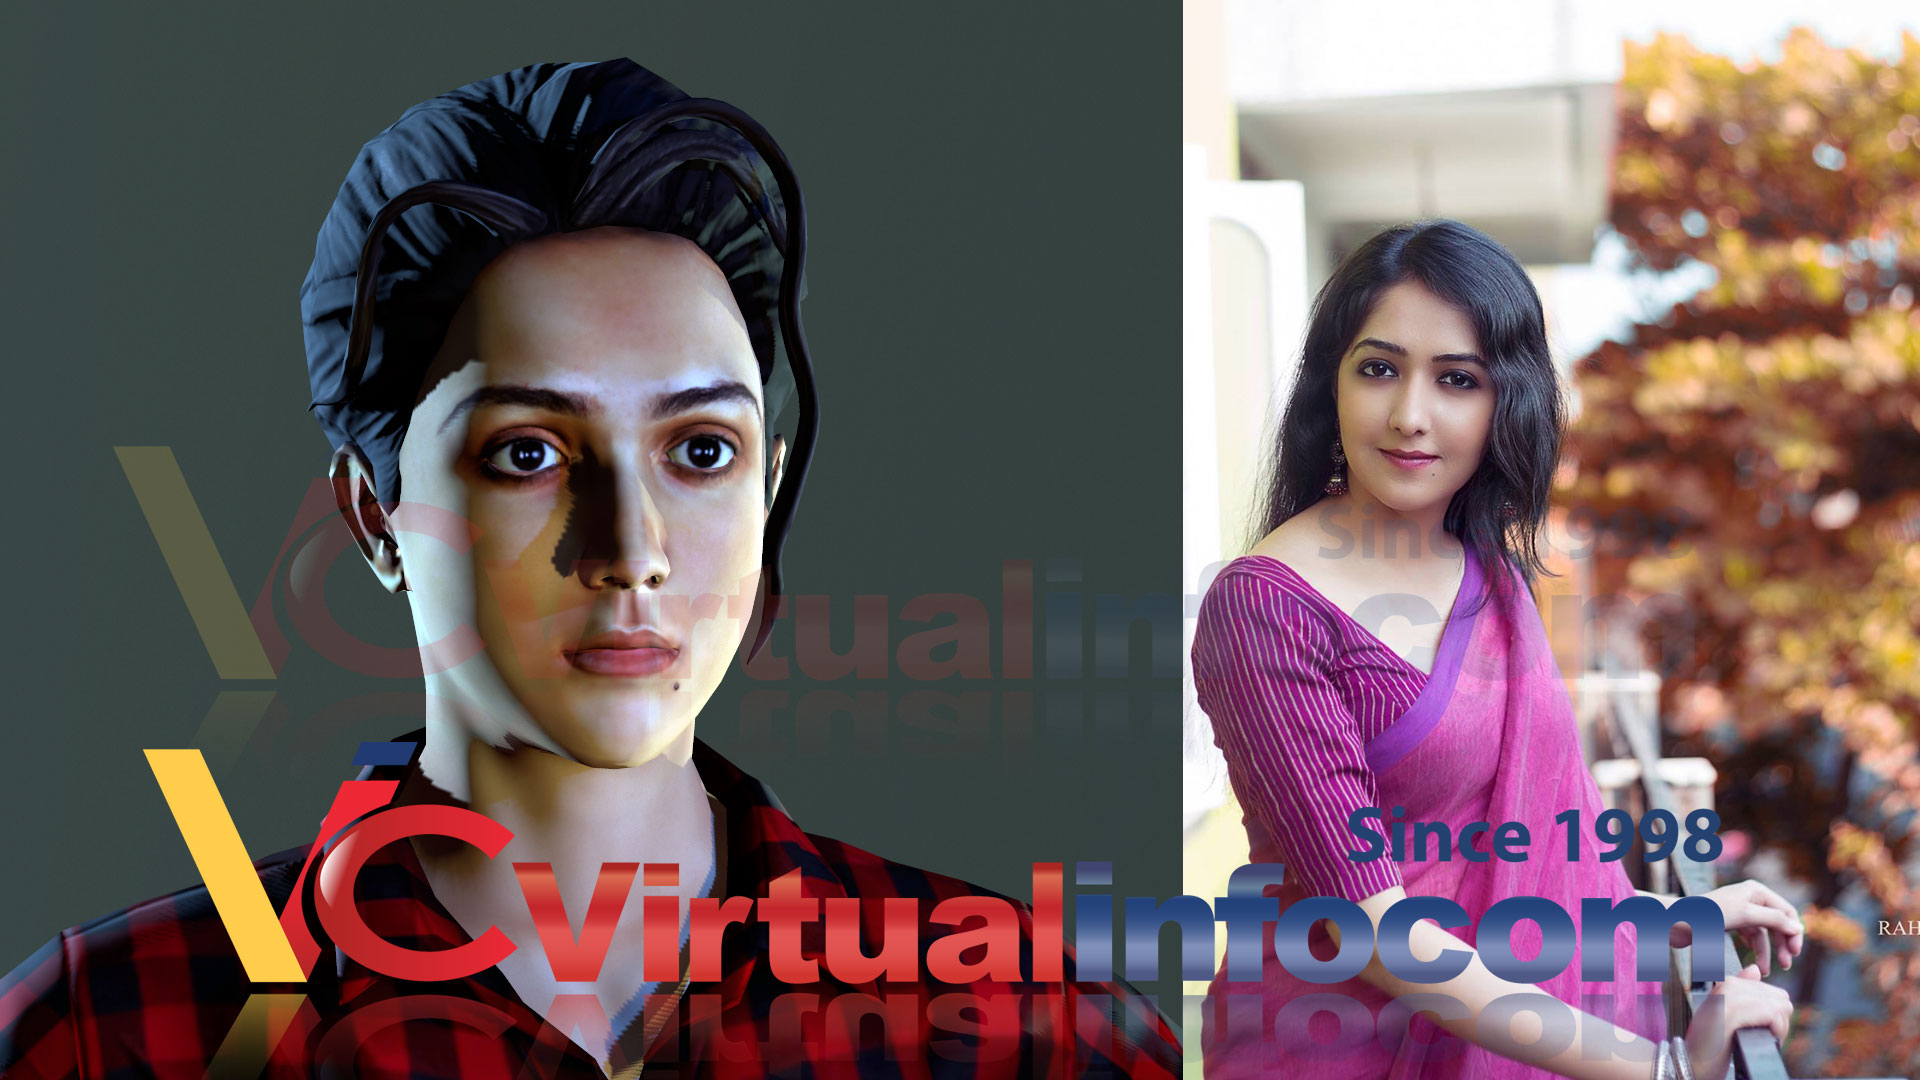
The animated characters in our, Virtualinfocom’s games do exist in real life. Yes, you read that right.
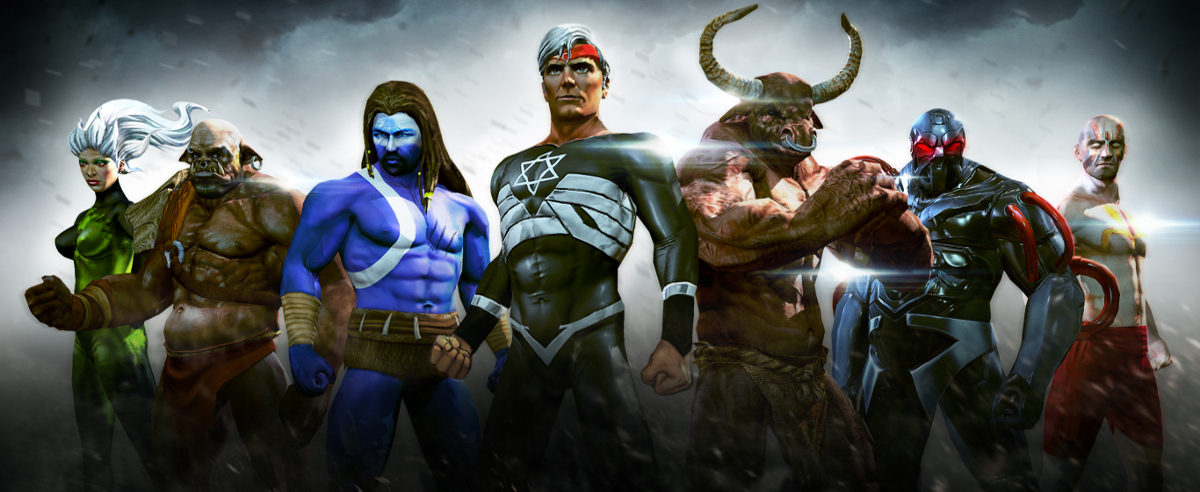
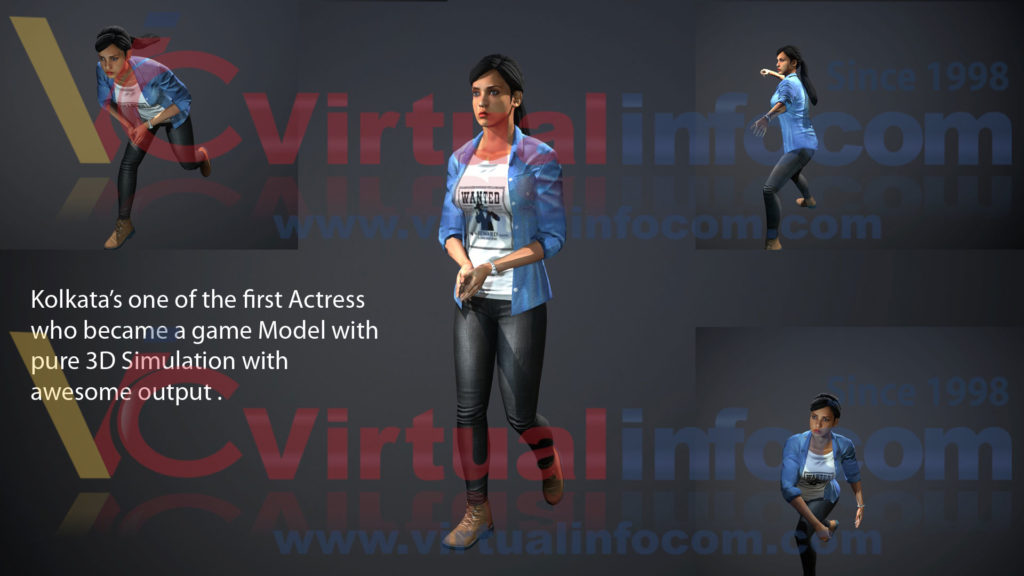
The game character designs, game character animation and everything related to the game characters is based on real human models. The game characters or game models are replicas of real-life models which in turn, has made gameplay more realistic and much more interesting.
Steps to create game characters in our games are as follows:-
Step 1: Photography
Photography is the process of capturing images of real-life models.
High-definition photographs of human models are clicked from 360 degrees, that is, from all directions in order to get a reference for the structure of the 3D model. Pictures of different body parts including hair, eyes, nose, mouth, palm, feet are also clicked separately in order to get the exact textures of the body parts.
During photography, the lighting is done such that no shadow appears on the surface of the model as any such shadow will affect the skin texture of the game model during the process of “Mapping”. Therefore, the light set-up is a very important aspect of this process.
Another very important aspect of this process that should be kept in mind is the resolution of the photograph. Higher resolutions of photographs are most preferred.
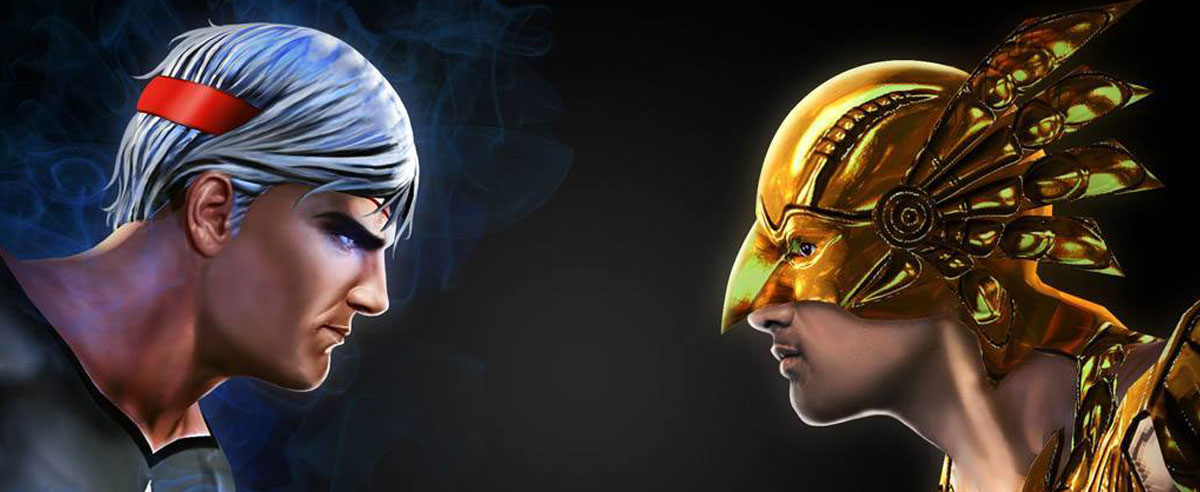
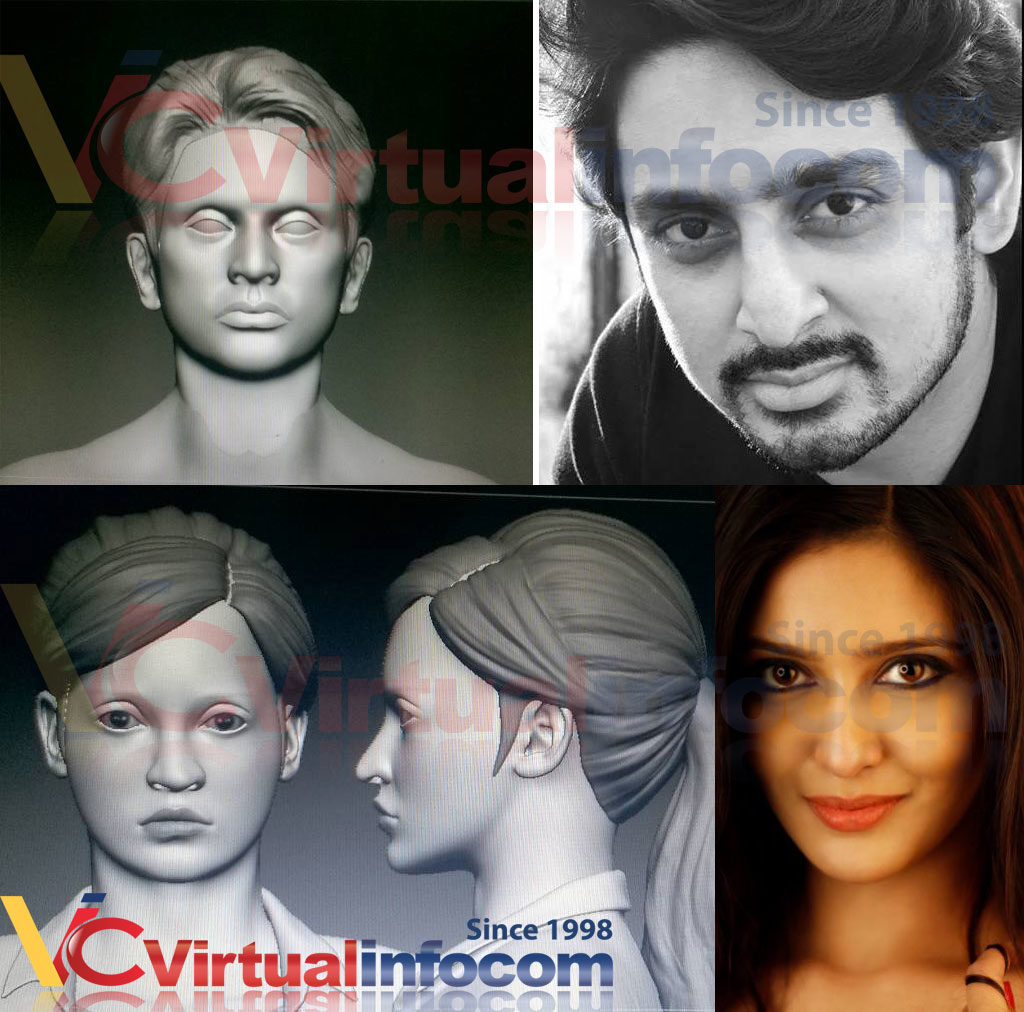
Step 2: Modelling and Sculpting (High-Poly)
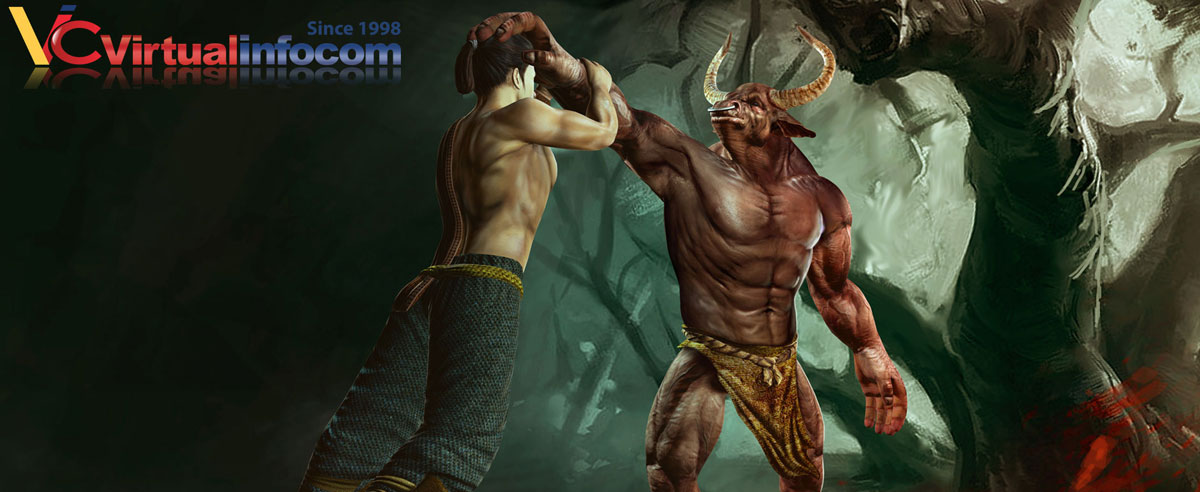
game character
Once photography is over, the task of developing the props, environment and characters gets started which is known as modelling.
The process of sculpting is more or less like the traditional way of making clay sculptures. The only difference is that sculpting is done using a sculpting program instead of bare hands using polygons instead of clay.
The photographs of the real-life models act as templates to trace the structures of the game models. This procedure is known as modelling or sculpting from scratch.
The basic way of creating a 3D model is to take a “primitive” (a simple object), and “grow” (extend) it into a shape that can be developed and detailed. Primitives can be anything such as a single point or a 2D line or a 3D object just like a solid heap of clay.
Step 3: Retopology (Low-Poly)
Retopology is the process of reducing the polygon count that was used to sculpt the 3D model.
At this stage the sculpted model is simplified by converting the high polygon count to a low polygon count.
This is done in order to make the game models less complex and lighter in terms of memory consumption which in turn results in a better gaming experience. This process also makes the game more user-friendly by making the game less memory space consuming.
Step 4: UV Mapping
UV mapping is the process of unwrapping the 3D models which were designed earlier using the processes mentioned above. The process of UV mapping is carried out by adding seams and relaxing the maps. This is the basic process of making the 3D models look more realistic.
This process mainly depends upon the symmetry, level of detail and depth of the model. By using the UV map, the gaming models can be textured according to the real-life models.
Step 5: Texturing/Mapping
Texturing is the process to give skin, color and creativity to the character. After creating a 3D model, 2D images or patterns can be attached to it in order to add colors, designs, and textures. This process is known as mapping, and the entire color of the 3D model is a result of mapping. These maps are created from photographs of the real-life models after altering the photographs in order to create uninterrupted repeatable patterns and textures.
This is how many illusions of hair and textures of skin are created.
Step 6: Rigging and Skinning
The process to setting up a controllable skeleton or framework for the 3D model that is intended for animation is known as Rigging.
The process of attaching the 3D model or skin to the rigged framework or skeleton so that the 3D model can be manipulated with the help of rig controls is known as Skinning.
The final stage prior to the process of character animation can be started after giving the 3D models the ability to walk and talk. This stage is called “rigging and skinning”. It is the main and basic process that allows the movement of a 3D model and brings it to life.
Step 7: Animation
Animation is the process of taking a 3D character and setting it into motion.
Motion captured data is used to help create more human-like movements by collecting the data and using that data to work with the skeletons of the 3D models so that the movement of the 3D models reflect the motion of the real-life models as captured earlier.
Step 8: Programming
Programming is the process through which the game is actually developed inserting the 3D animated model within the game is also a part of this process. Several complex programs are written down using programming languages such as JS or C# in order to develop a game. Each game character is assumed to be a separate object and the game is coded accordingly. Usually it’s done in a engine which translates and process things.